Spring RV Prep Checklist: What To Do After Your RV Comes Out of Storage
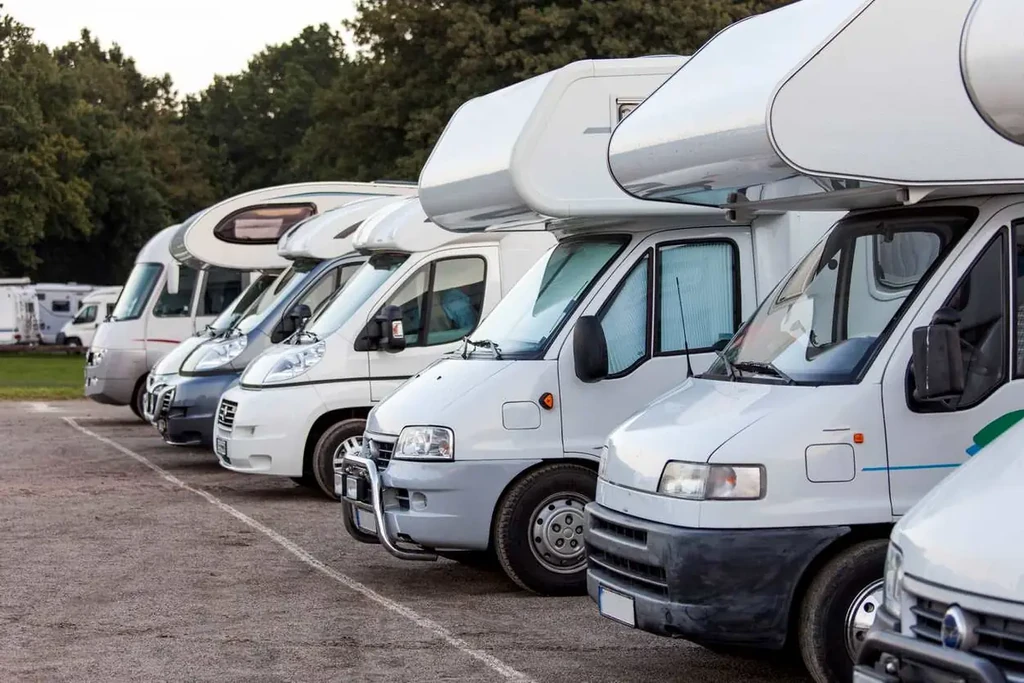
The first warm day of spring has a way of making even a long to-do list feel manageable. If your RV has been sitting in storage over the winter, it’s tempting to hop in and hit the road immediately as you start your vacation. But before you turn the key, your RV needs a thorough look-over.
Months in storage affect more than you might expect. Rubber seals dry out, batteries lose charge, and small leaks that went unnoticed in the fall can quietly worsen over winter. A solid RV inspection checklist helps you catch problems early, before they turn into breakdowns on the road. Here's a practical step-by-step plan to get your RV ready for the season.
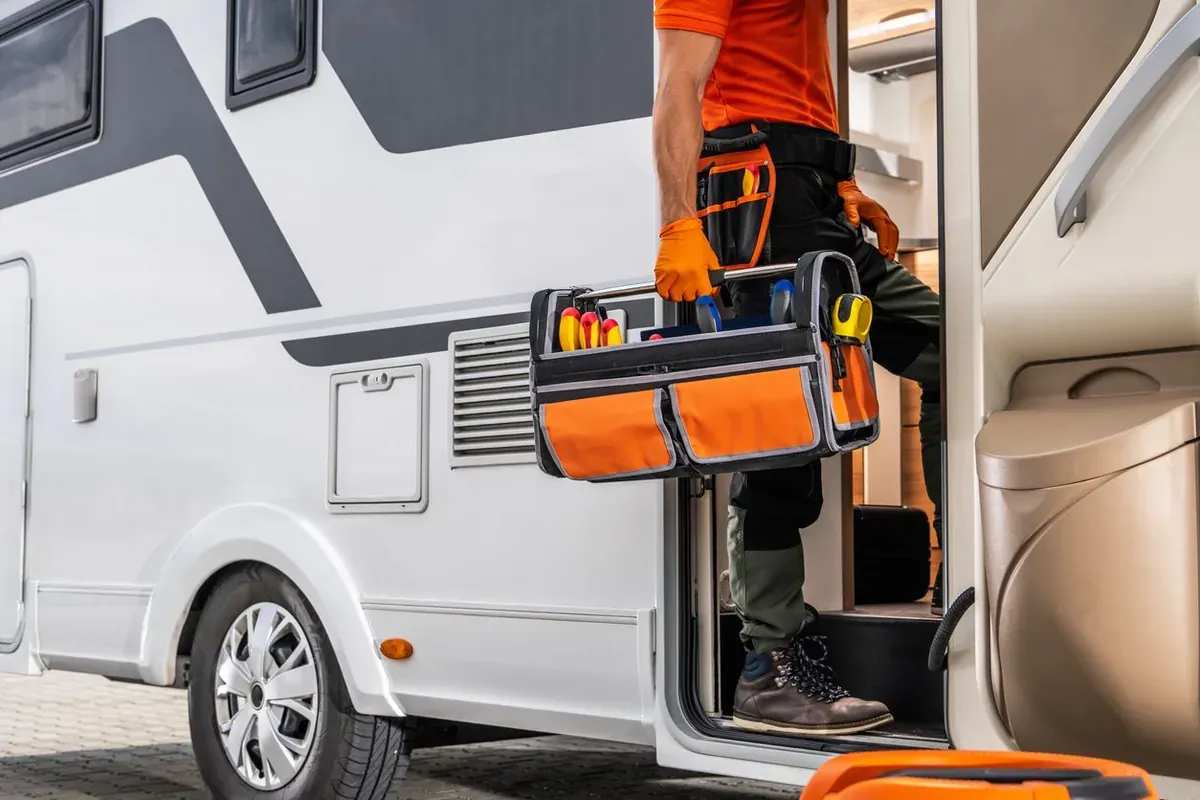
Start With a Full Exterior Walk-Around
Before touching any switches or plugging into shore power, do a slow, careful walk around the entire vehicle. Climb up safely and inspect the roof membrane for cracks or bubbles. Check sealant around vents and skylights, and look over antennas and AC units. Seals can loosen over months of storage, and even a small gap is enough to let water in. If anything is peeling or cracking, reseal it before your first trip.
While you're at it, check window seals, storage compartment latches, and entry door alignment. Open and close everything once. If something sticks or doesn't latch properly, it's far easier to address at home than at a campsite.
Examine Tires and Wheels Carefully
Tires often take the most punishment during storage. Sidewalls can develop dry rot and cracking even when the tread still looks good, so inspect them closely. Check for uneven wear as well. If you have any doubts, replace them.
Then inflate all tires to the manufacturer's recommended PSI. Underinflated tires reduce fuel efficiency and raise the risk of a blowout on the road. This step should be part of your routine every single season, without exception.
Test the Battery and Electrical System
A dead battery is one of the most common spring surprises. Check terminals for corrosion and, if needed, disconnect the battery, clean the terminals with a baking soda solution, and reconnect securely. If your battery wasn't removed during storage, test the charge level and replace it if it won't hold a charge.
Flush and Sanitize the Water System

Water lines that have sat idle for months need attention before use. Start by checking under sinks and around the water heater for any visible signs of damage or leaks. Then, sanitize the freshwater tank using an RV-safe solution. Fill the tank, run the solution through all faucets, let it sit as directed, and flush thoroughly with clean water before drinking.
This step gets skipped more than it should. Stale or contaminated water is not something you want to discover in the middle of your trip.
Inspect Propane and Appliances
Propane systems require careful attention every spring. Check hoses for cracks, look for loose fittings, and inspect around tanks for rust. If you smell gas at any point, stop and have the system checked by a professional before proceeding.
Once the visual inspection is clear, test the stove burners, furnace, and water heater. Flames should burn steady and blue. Weak or yellow flames may point to a problem that needs addressing before you head out.
Refresh the Interior
After months in a storage unit, the inside of your RV will likely feel stale. Open all windows and roof vents on a dry day and let fresh air circulate. Wipe down counters, cabinets, mattress covers, and upholstery, and look closely for any signs of moisture or pests. Even well-stored RVs can attract small critters looking for shelter. Catching any evidence of nesting early keeps the issue minor.
If you stored your RV at Premium Spaces, our smart unit motion detection and video recording provide an added layer of awareness throughout the storage period. That said, a thorough interior check at the start of each season is always worth the time.
Review Safety Equipment
Safety items should be part of every RV inspection checklist without fail. Test your smoke detector, carbon monoxide detector, and propane detector, and replace batteries as needed. Check that your fire extinguisher gauge shows a full charge and that the extinguisher is easy to access.
Restock and Test Drive Before Heading Out
With systems confirmed and the interior clean, restock your first-aid kit, flashlights, spare fuses, toilet chemicals, and drinking water. Carry a tire pressure gauge, basic hand tools, spare hoses, and electrical adapters. Small items get forgotten easily, and having them on hand prevents unnecessary stops.
Before committing to a longer trip, take a short local drive. Listen for unusual noises, brake issues, and suspension rattles. Test your turn signals and brake lights. If anything feels off, address it before the real journey begins. Short drives build confidence and surface problems while you're still close to home.
Finally, confirm your registration, insurance coverage, and roadside assistance details are all current. Spring is a good time to review route plans and campground reservations as well.
Store Your RV at Premium Spaces Between Trips
A thorough spring prep checklist only pays off if your RV is stored properly when it's not in use. Texas weather and sun exposure accelerate wear on seals, tires, and exterior finishes. Keeping your vehicle in a covered or dust-controlled self-storage unit between trips protects the work you've put into maintaining it.
Premium Spaces offers secure RV storage built for Texas conditions, with covered spaces, video recording, and smart unit motion detection on-site. Use dust covers on upholstered surfaces and interior furniture regardless of storage type, and run through the basic pre-storage steps each time.
Reserve your RV storage space at Premium Spaces today and start every season knowing your vehicle is accessible and ready to go when the road calls.